
Thank you for ordering our wax melter.
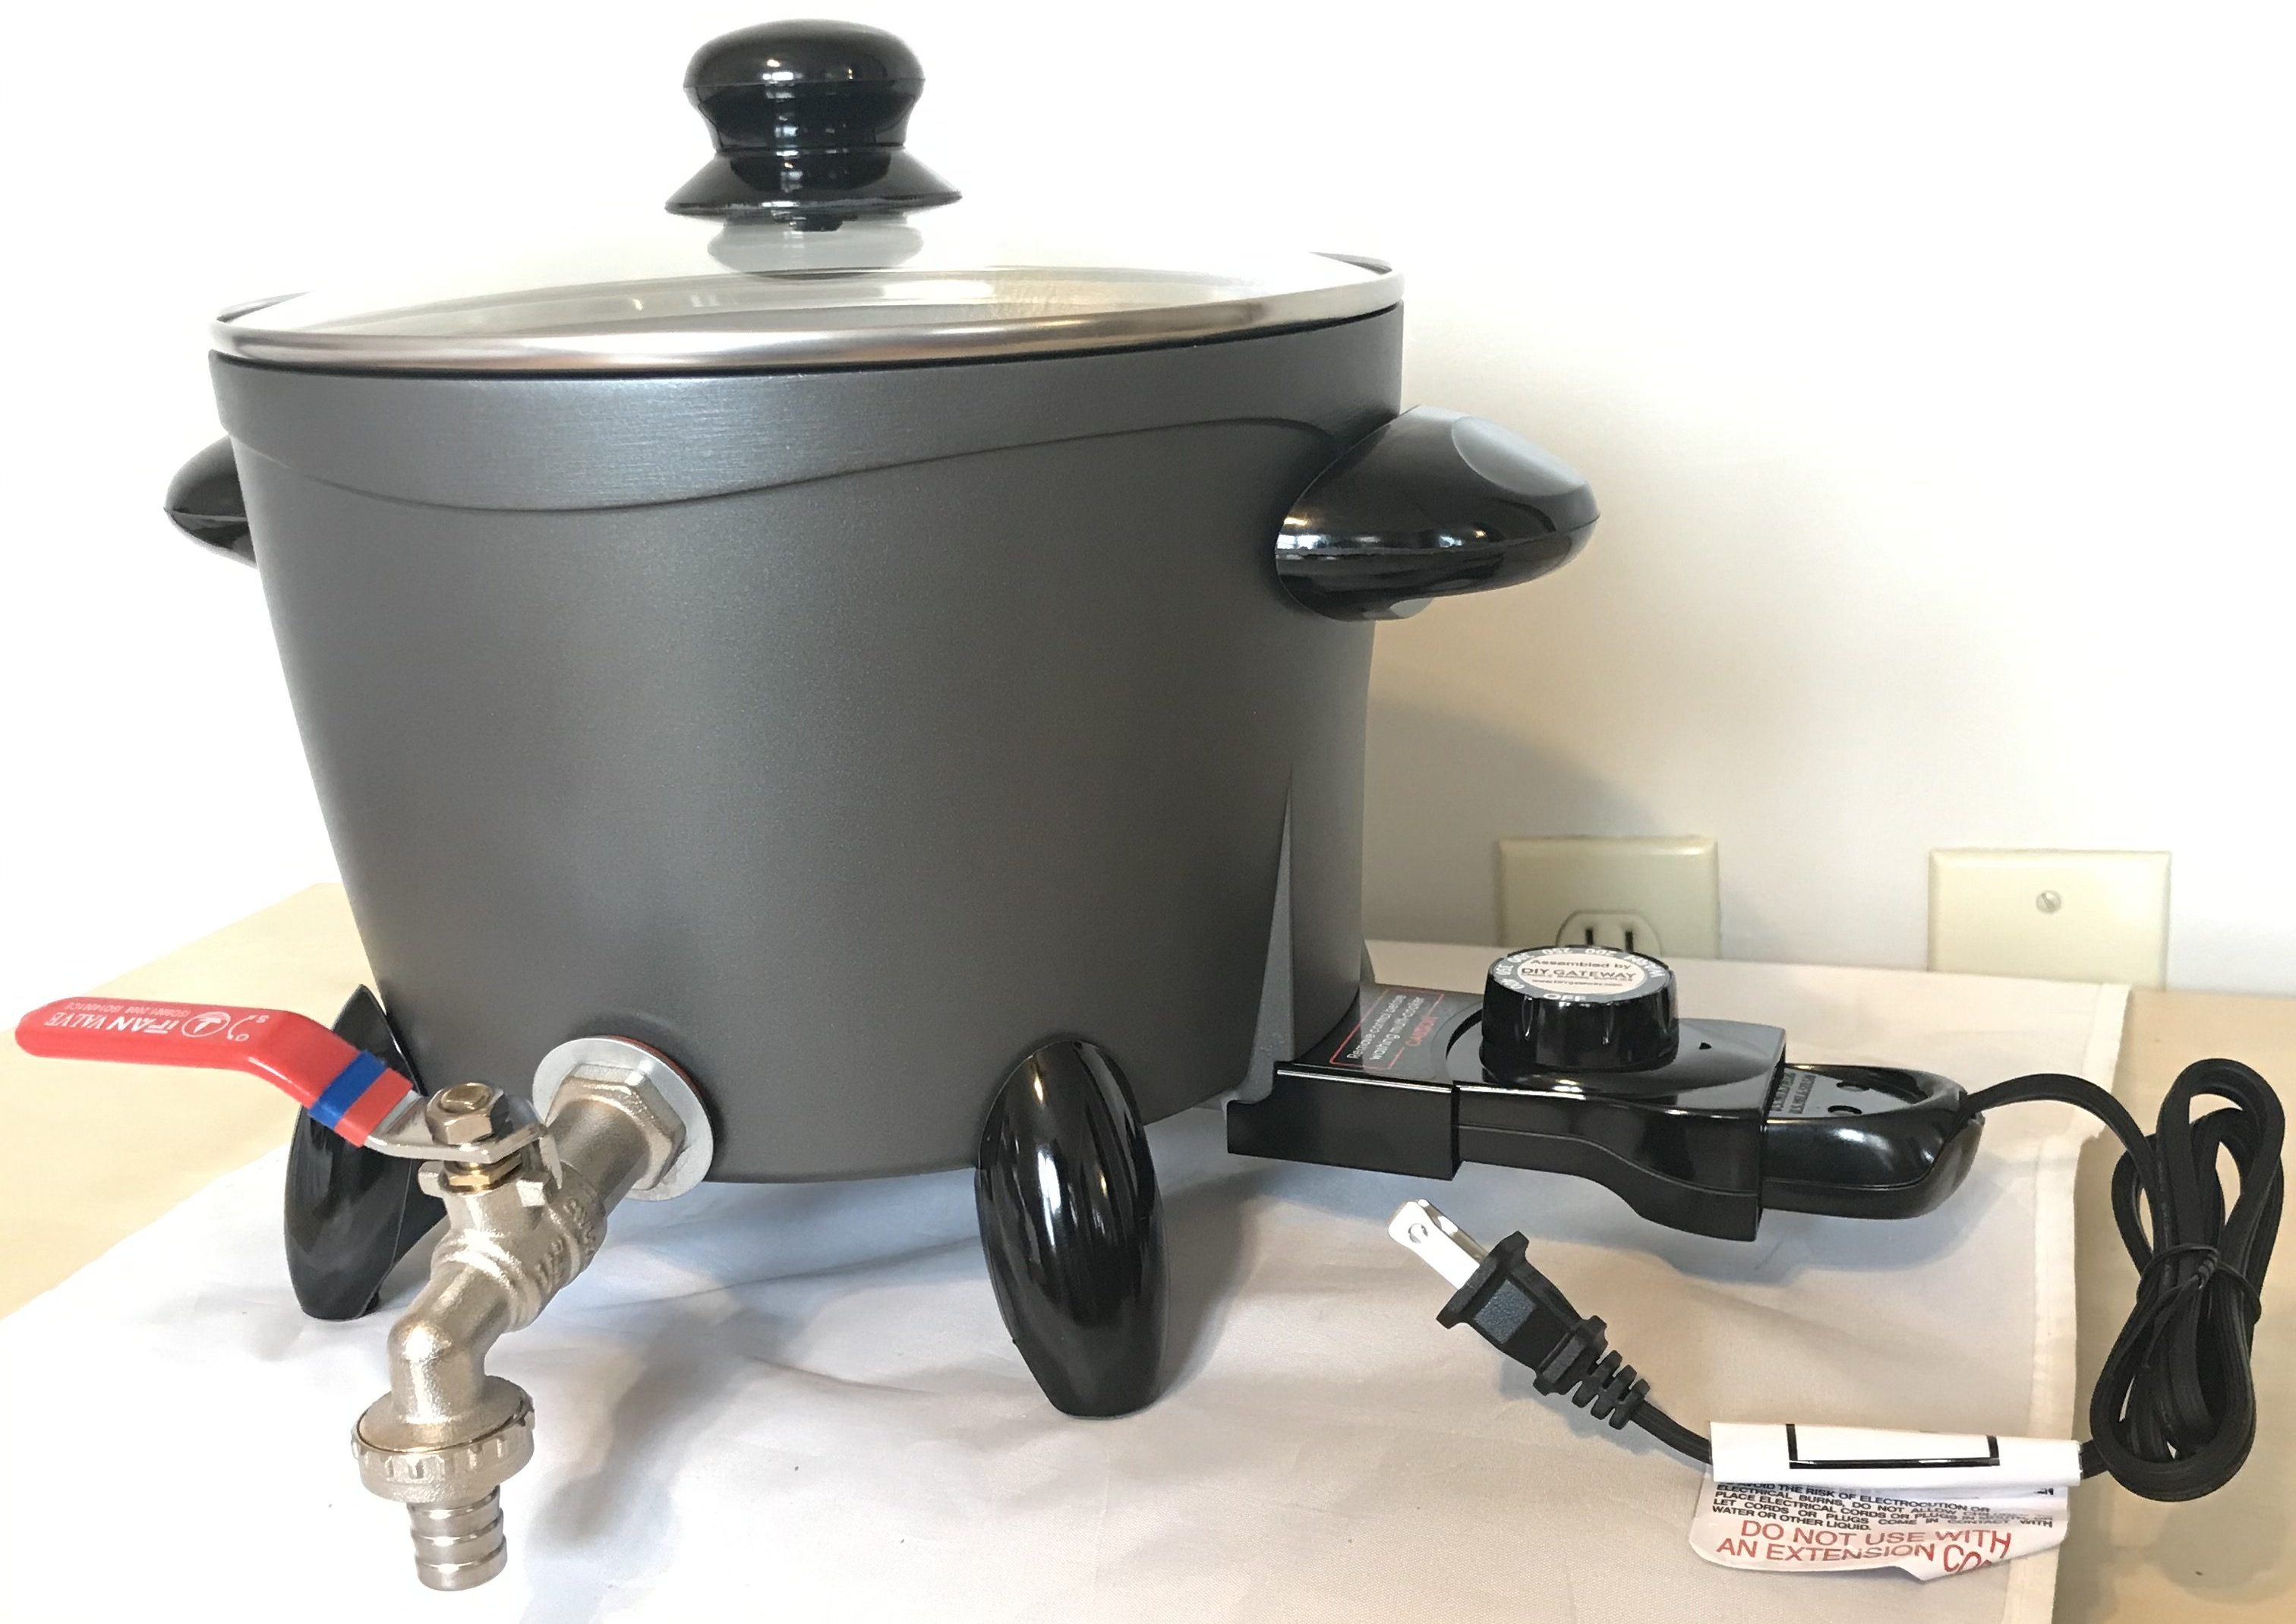
The wax melter comes with the below parts: Wax melter pot & spout, 4 legs, 2 handles, Lid, Thermostat dial, Magnetic electrical cord.
Safety Precautions:
- Do not touch the spout or the metal pot while on.
- Never exceed 250 f for melting wax
- Never leave wax or pot unattended.
- Unplug when not in use.
- Always wear protective gloves, safety goggles and skin protection to avoid burning your skin.
- Never let a minor use the melter without supervision.
- DIY Gateway takes no responsibility for the misuse of this product. Please use at your own risk.
Assembly
Assemble the feet and handle using a screwdriver.
Insert the thermostat dial with its probe into the side of the pot. Then line up the electrical cord on the side of the thermostat so the magnet connects it together. It is made this way as a safety measure to easily disconnect in the case the cord is pulled or tripped over.
Notes About Use:
- Wax Pouring Temperature: The colder you pour the wax, the more likely the chances of the wax hardening and clogging the spout. Please test the lowest temperature you can pour for your particular wax before clogging issues become apparent.
- Spout Tip Removal: In the event wax clogs up the spout tip, it is recommended to remove this by turning it counterclockwise. Some folks like to remove this option.
How to Use Wax Melter
Once assembled, follow the below steps:
- Estimate wax: fill the pot up with the desired amount of wax. If you want to melt as much as possible, pour more wax flakes once it melts down.
- Set thermostat: typically most wax should be heated up around 180 degrees Fahrenheit to prevent wax from burning. However, some folks may wish to start the temperature higher to get it melting quicker, then reduce it once it begins to liquefy.
- Place Cover over: this will help the wax melt quicker and reduce evaporation of your wax.
- Turn off & mix in fragrance oil at the temperature specified by your wax or fragrance manufacturer. You may want to place the cover over after mixing the fragrance in to prevent it from evaporating.
- Pour the wax: simply turn the lever toward you with the candle container under the spout.
How to Clean the Wax Melter After Use
See the instructions here on how to clean the wax melter.
Download Instructions
You may also download this instruction sheet by PDF here.
Check out our Soap & Candle Making Kits
Soap Making
Make Soap From Goat's Milk Base with this Kit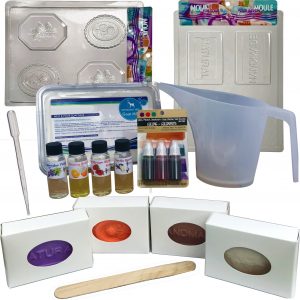
Candle Making
Make Candles from Cut Bottles with this Kit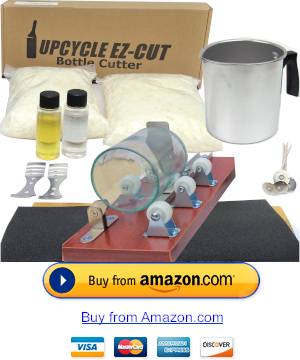
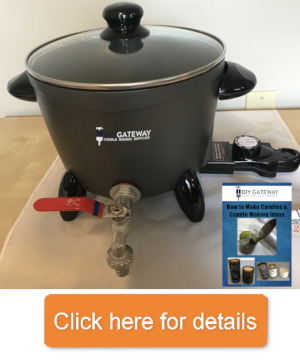
Check out our Wax & Soap Melters
Our Wax Melters Make Candle Making a Breeze!
Hi – just ordered your pot through Amazon. Questions: how long does it take for paraffin & soy wax combo to melt? I typically make layered pillars with multiple colors – are the additives, scent and color added directly to the melter? Do you recommend pouring each candle mold directly from the spout ? Thanks!
Leslie, thank you for the order! How long depends on the amount you add and how high of a temperature you turn it up at. Sometimes within a few minutes. However, if you want to get the max capacity in, you would have to melt the first half, then add the second half once it is melted down. Some folks turn it up to the highest setting to get it melting faster, then reduce heat once it liquefies to prevent burning.
You can definitely add the additives and scents to the melter. If can pour it directly into the mold. However, if you need to pour at a colder temperature and is starting to get a higher viscosity, you may need to pour it in a separate container to prevent clogging in the nozzle.